I remember back when I was trying to decide on a platform to use for my planned online store.
I was leaning toward Shopify, but I kept reading how it is not good for blogging.
And that I would be better off setting up my store on WordPress, if I planned to have a blog.
In the end, I went with Shopify anyway. And its blogging function was nowhere near as bad as I kept reading.
Once you know how to set up a blog on your Shopify store, the process is quick and easy.
Sure, Shopify blogs don’t have nearly the features and flexibility of a WordPress blog.
But it was plenty good enough for me. And probably will be for you too.
So let’s dive right in and learn exactly how to get a blog set up on your Shopify store. You’ll be surprised at how easy it actually is.
Contents
How To Add A Blog To Shopify
When you set up a Shopify store, you start with a default blog called “news”. You can use this blog and simply add posts to it using the method described below.
If you do not like the name “news”, you can also set up a new blog and give it whatever name you want. Either way, it starts by adding a blog post. Follow these steps:
- Go to the Shopify store admin area.
- Click on ‘Blog posts’
- Click on ‘Add blog post’
- In the Title field, enter a title for your blog post.
- In the Content field, enter content for your blog post.
- In the Organization section, from the Blog drop-down menu, select the blog to which you want to add the post (the aforementioned ‘new’, for example) or select ‘Create a new blog’.
- If you are creating a new blog, in the Blog title field, enter a title for the blog.
- Click Save.
That gets you a basic blog post, Of course, you may want to add images, videos, and internal and external links. You may also want to edit the meta title and description for SEO, add tags, and when satisfied, publish the blog post.
Let’s take a closer look at how to set up a Shopify blog. We’ll also cover a few other things you’ll want to know about the blog function included in Shopify.
Step By Step Tutorial On Setting Up A Shopify Blog
Here are the detailed steps to follow in order to get a blog set up on your online store using Shopify’s native blogging function.
Log In To Shopify

We assume you already have a Shopify account. If not, you can start with a free trial and later pay $20/month for three months.
After logging in, you will reach the Shopify dashboard. This is the place to add your products, update your online store, and also add blogs for SEO.
Click On The Online Store Tab
On the left-hand side, you will see an Online Store tab. Clicking this will open up the links to change your shop’s theme, add blog posts, and update your store’s pages, and navigation preferences.
Click On The Blog Posts Tab
This is where you can add your blogs. On Shopify, you have the option of setting up multiple blogs, too.
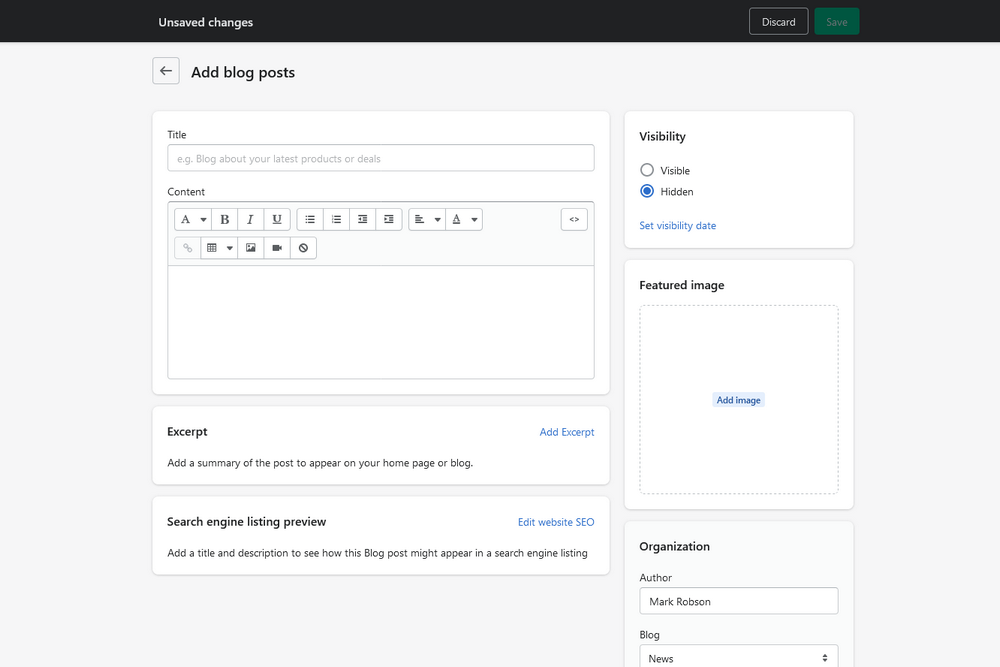
Click The Create Blog Post Button
This is where you add the title, content, images, videos, and anything else you deem relevant. If you want your readers to check out something, you can also add internal or external links. You can write anything related to your brand, business, or products.
Remember to use best SEO practices when creating your blog post on Shopify. This means adding the keywords in the title and the first and last lines of your content.
Use Canva To Create Banner Images
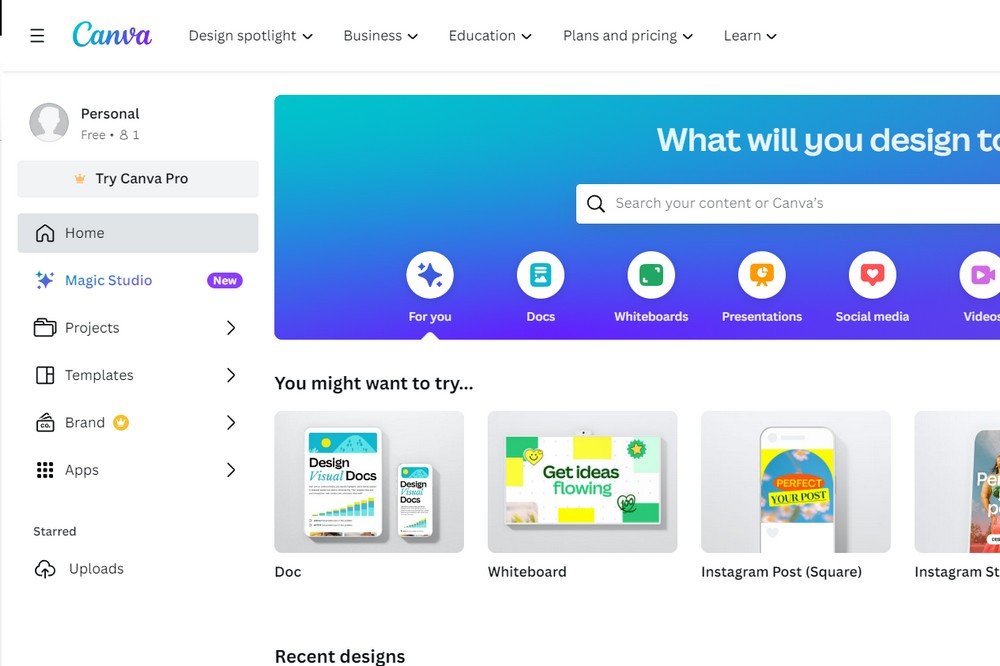
Many Shopify merchants use Canva Pro to create their page banners. Canva Pro has thousands of professional-looking templates and images that you can customize to suit your blog.
They also have free templates. I’ve actually been using the free version of Canva for years and have never needed any features from the paid version. That said, I really only use it to create the main image for my blog post.
I always use a relevant photo (make sure you have the rights to any photo you use; I get most of mine from free stock photo sites or take them myself) and add text over it. Create an image relevant to your site and download it. You can save it in a folder for easier access.
To add your newly created banner, click the Toolbar in the blog section. This will bring you to your Shopify images.
Upload the newly created banner from your computer. Add the alt text in this image, since that will help users come to your site when they search for the particular keyword. Us text that describes what the image shows.
You will also need to select the right pixel size for the image. Once you have added the alt text and selected the size, click Add Image. This will add a nice banner to your blog post.
Add Text
Start by adding a good headline for your blog post. You may want to format the headline font and size so it appears nice and bold. You even have the option to change the headline text’s color.
When writing your blog post, try to be as engaging as possible. Include as many keywords and keyword phrases as you can–phrases that customers are most likely to search for. This will help your Shopify store’s SEO which will drive your sales.
Add Videos
To add a video, click the toolbar video button. Here you can embed the code of the video. If you are adding a video from YouTube or Vimeo, you get the code from the video page (I’ll cover this below).
If you want to use your own video, you will need to upload it first to YouTube or Vimeo. There also is an option of having the video show only on your Shopify and not on YouTube (you need to upload the video as unlisted).
Once you have uploaded your video on YouTube or Vimeo, go to the ‘share’ icon which will give you the code that you can embed in your Shopify’s video box field. Click insert and that will add the video to your blog.
Continue adding some headings with some text. If your video has you talking, you can add the Script of the video to your blog post. This will give you some good content without having to write it separately.
Add Other Images
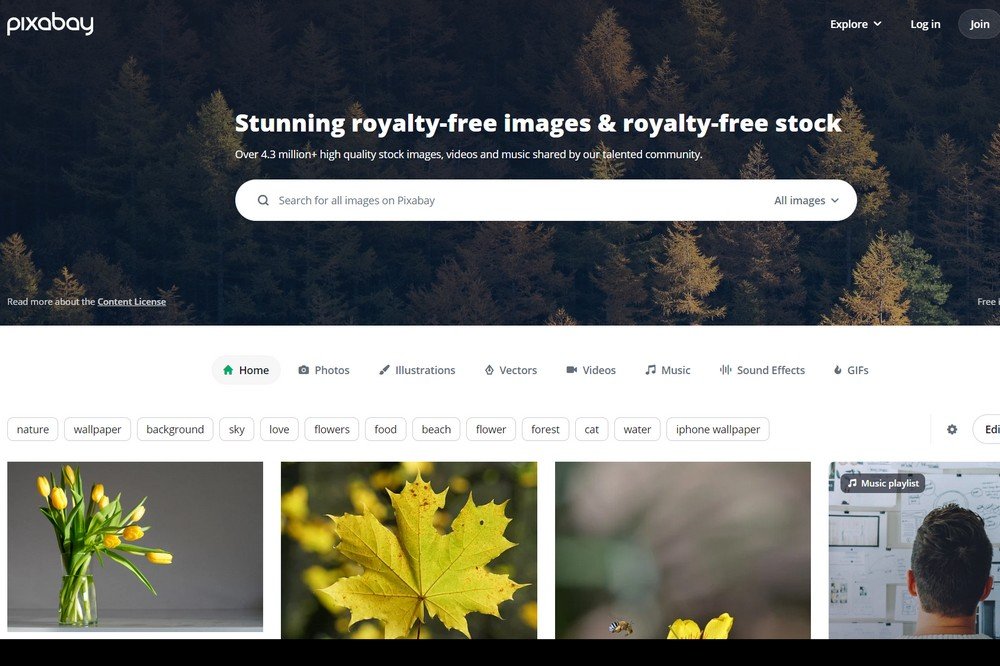
Shopify blog lets you add images throughout the blog post. You can simply use the free images from sites like Pixabay or use your own product images.
Click the product image tab to find all your products in your Shopify store. You can choose the size and even insert the product image as a thumbnail. You can also link to your product on the store by inserting the link. Select it to open in a new window.
Add a featured image, since that is the image your customers will see on your Shopify website when they see a list of all of your blog posts. Select one that represents your blog post.
Call To Action
At the end of the blog, provide a link to your product. To link to a product, copy the URL of the product on your Shopify store website and insert it in the link area.
You can select “Open link in a new window”. At the bottom, add a link title to help with the SEO and accessibility. Finally, click the “insert link” and you have successfully added the link to your product in your blog.
Add Author And Tags
Below the image section, you can choose the author if other writers write for you. You can also add tags to segregate the kind of post it is – you could do this according to your product categories, for example.
Post The Blog Post
Once all the final edits are done, go ahead and publish the blog post. You can now add another blog post to enhance your SEO.
How Good Is Shopify For Blogging?
Whether or not it is worth blogging on Shopify depends a lot on your business model, profit margin, risk forecast, and more.
If you are just starting out and do not have the budget for Google ads, then blogging is a great way to enhance your Shopify store’s SEO without spending too much money.
In any case, blogging is worthwhile for Shopify merchants because it helps them make announcements, show their personalities, and also build a rapport with their customers.
So, if you are selling an expensive and complicated innovative product, then blogging can help you explain that product to your users. You can also monetize your Shopify blog once you start getting good traffic.
Can I Monetize My Blog On Shopify?

Yes, Shopify blogs are not just a method of driving traffic to your online store, but they can also help you make some extra income on the side. There are several ways to monetize your Shopify blog.
First, you can add affiliate links to your blogs. These can help you earn commissions when someone clicks on those links and then buys those products.
Second, other bloggers and affiliate marketers may be willing to pay you to add their guest posts on your blog.
This helps them get backlinks from your site to their site, which is good for their SEO. In return, it can reduce your workload of adding new content, engaging audiences, and driving traffic. You also earn money in the process.
You can also allow advertisers and sponsors to set up ads on your Shopify blog. You can charge them according to your traffic.
How To Set Up A Blog On Your Shopify Store: Final Thoughts
Adding a blog to your Shopify store is a straightforward process that can significantly enhance your online presence and SEO efforts.
By following the steps outlined in this article, you can create engaging, informative content that not only educates and entertains your audience, but also drives traffic to your store and potentially increases sales.
With the ability to customize your blog’s appearance and content, the Shopify platform offers a versatile tool for merchants to express their brand voice and connect with their customers.
Whether you’re sharing product news, industry insights, or personal stories, a well-maintained blog is a valuable asset for any e-commerce business looking to grow its audience and establish a strong online authority.
So, take advantage of this feature and our instructions on how to add a blog to Shopify, and start blogging on Shopify to unlock the full potential of content marketing for your store.